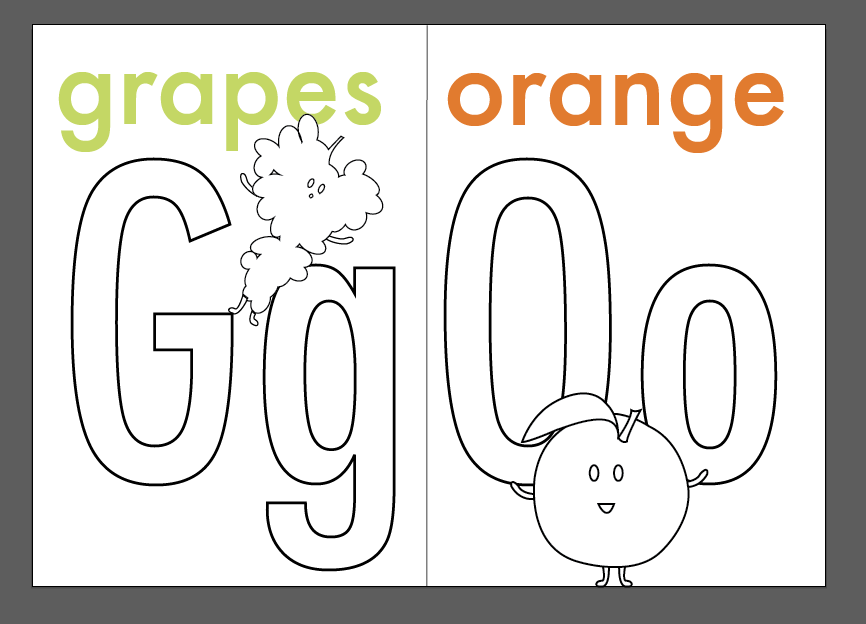
I began with my colouring book using my choice of font ‘Futura Medium Condensed’. I got rid of the fill and gave it a black outline 3pt. Most often used in children’s colouring books.

I then for each fruit used turned them into outlines used in colouring books to enable the child to colour them in. Below are the steps on how I created this.

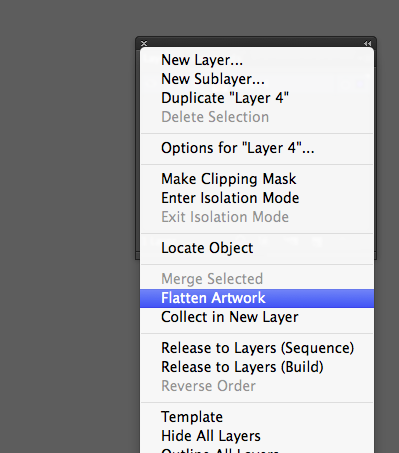
Firstly I selected all layers and flattened the image using the flatten artwork tool to make all of the image one layer.

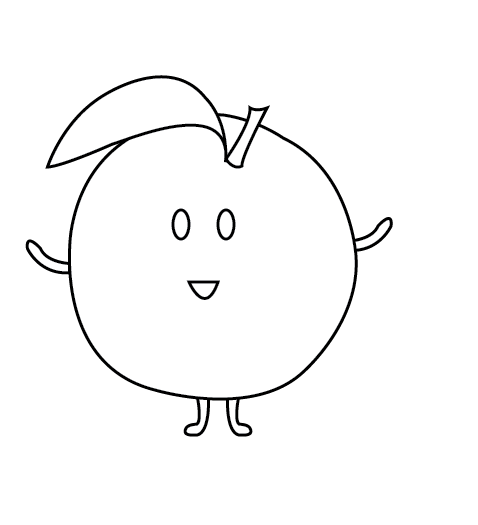
I then filled the imagery white with a black outline of which I then had to increase the point size to make it stand out on the page like existing colouring book pages I have seen.
Then I had to figure out a way of placing it on the page making the letters still legible for educational reasons to not confuse the child.

I then added the fruits on the letters to make them as one. Then including the words coloured to create an attraction to the page and also visually explaining to the child that the blank letters need to be coloured in. I colour picked from the initial fruit so there it relates to the fruit I am using and is also consistent throughout my design work. I repeated this process throughout for my other double page spread below.