
Here is my step by step of my logo design and business card.

To begin I used the pen tool tracing around my design to create the same style of font.

From this I added the word design playing around with the placement to make it work into the logo design.

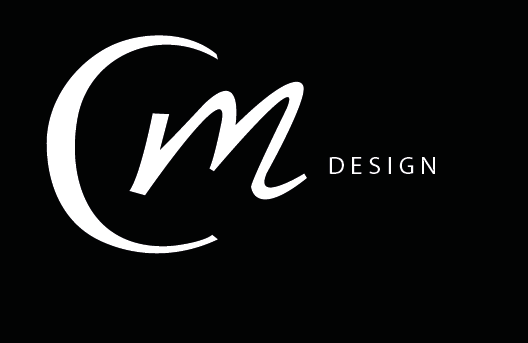

After playing around I decided to keep it simple and stick with just the ‘cm’ initials which I would then add to when adding it to my business card
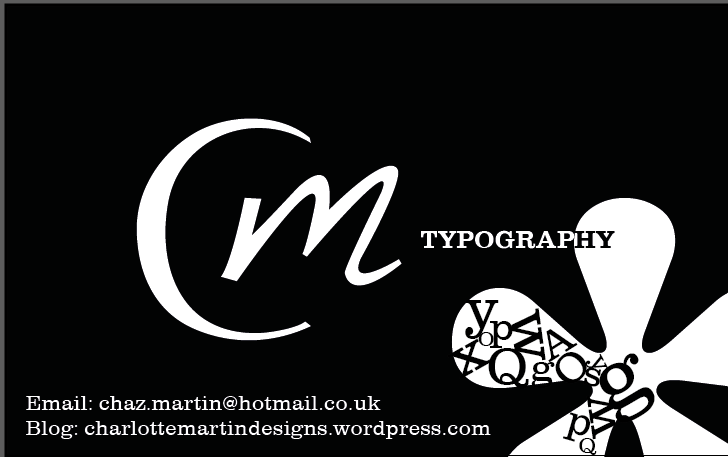
I then played around with a previous style I tried before when practicing creating a business card which I thought well in describing my brand as a typographer playing around with black and white to make the card more interesting. I also played around with using the typeface Clarendon as it is one of my favourites to use as a designer and worked well against the san serif I created as my logo.
From this I decided to remove the information from the front as I wanted to keep it simple just using typography for the design on the front using the Asterix as part of the imagery I was making using the typeface to signify me as a typographer.
For the back I decided to keep it simple with just the information on the back with the small icons to show world wide what they are used for keeping the scheme of the typeface Clarendon. I also added my logo in the top right hand corner which at this point I found too big.

From this I made the logo slightly smaller in the top right hand corner to focus on the information given on the back of the business card which I felt worked well.
